Video
In this post, I will show you how to upgrade the RAM of an old laptop. I have also included some troubleshooting methods if you face any problems after upgrading your RAM (which is not included in the above video).
My Laptop Configuration
- Processor: AMD A10 (Elite Quad-Core)
- Brand: Lenovo G505s
- OS: Windows 10
- RAM Before Upgrading: 8GB
To upgrade your RAM first remove the battery.
Next, Remove the back cover
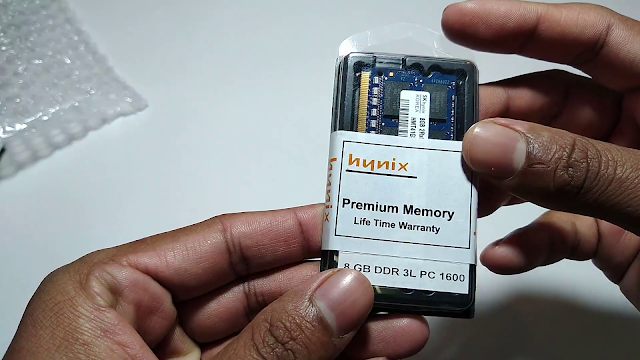
Next, Note down the RAM details (highlighted in RED) and order the RAM according to your RAM Details
Tips: While purchasing the RAM always purchase the same brand RAM so you can avoid the compatibility issue
If your parts are similar to mine you can use the below Affiliate Links for purchasing the RAM which helps me a lot.
- Amazon India - https://amzn.to/2BkYP7m
- Amazon US - https://amzn.to/2VTln8H (Not same as mine but almost same)
- Ali Express - http://s.click.aliexpress.com/e/2HSu4vfE

Now add the RAM to your empty slot on the Laptop
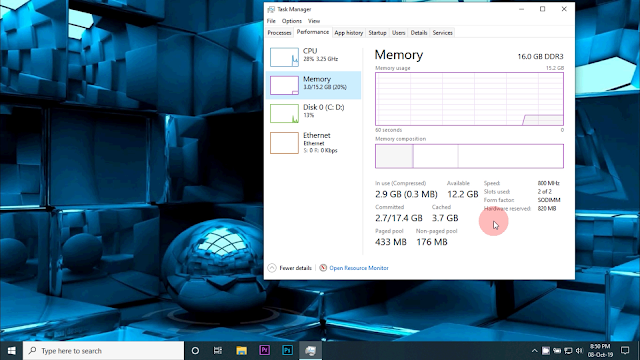
After adding the RAM turn on your laptop and go to Task Manager to check if your RAM capacity has been increased if not check the troubleshooting methods.

Troubleshooting Methods
Most of the times you may face the Hardware Reserved problem which will reserve 50% of the memory like the below picture
To solve this issue you can try below methods
Method 1: Remove your old RAM and insert only the New purchased RAM to check if the RAM is defective or not
Method 2: After confirming if the new purchased RAM is working fine insert both RAM and check if you're still facing the problem. If you're still facing the issue run the Memory Diagnostic Tool
To run the Memory Diagnostic Tool:
a) Right-click on Start and select Settings.
b) Type “Diagnose your computer's memory problems” in the search bar and press the Enter.
c) Now Follow the on-screen instructions to run it.
Method 3: Interchange the RAM slots
Method 4: Update your BIOS and chipset drivers to the latest version
Method 5: Go to search & type "MSConfig" and then open the system configuration window
In the system configuration window go to "Boot" and click the "Advanced options..."
In the Boot Advanced Options check the Maximum memory & set the value to 0 & then uncheck the Maximum memory and apply the changes and restart the system.
Thanks for reading guys !!!


No comments:
Post a Comment
Hi, Thanks for Commenting !!!